Merge2Doc Excel
Excel AddIn which allows users to merge Excel data into Word documents.
User Guide
Start with a Word Document that contains merge fields.
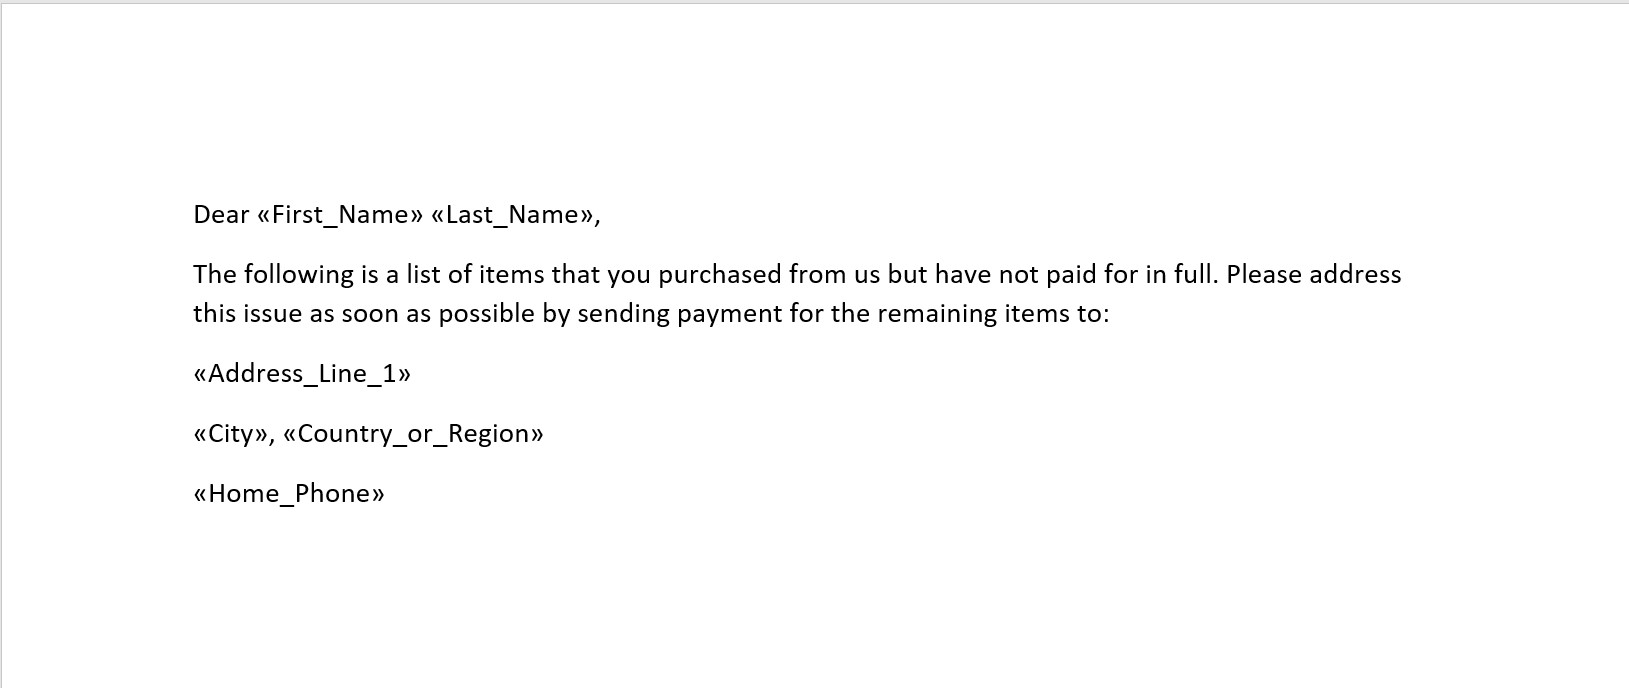
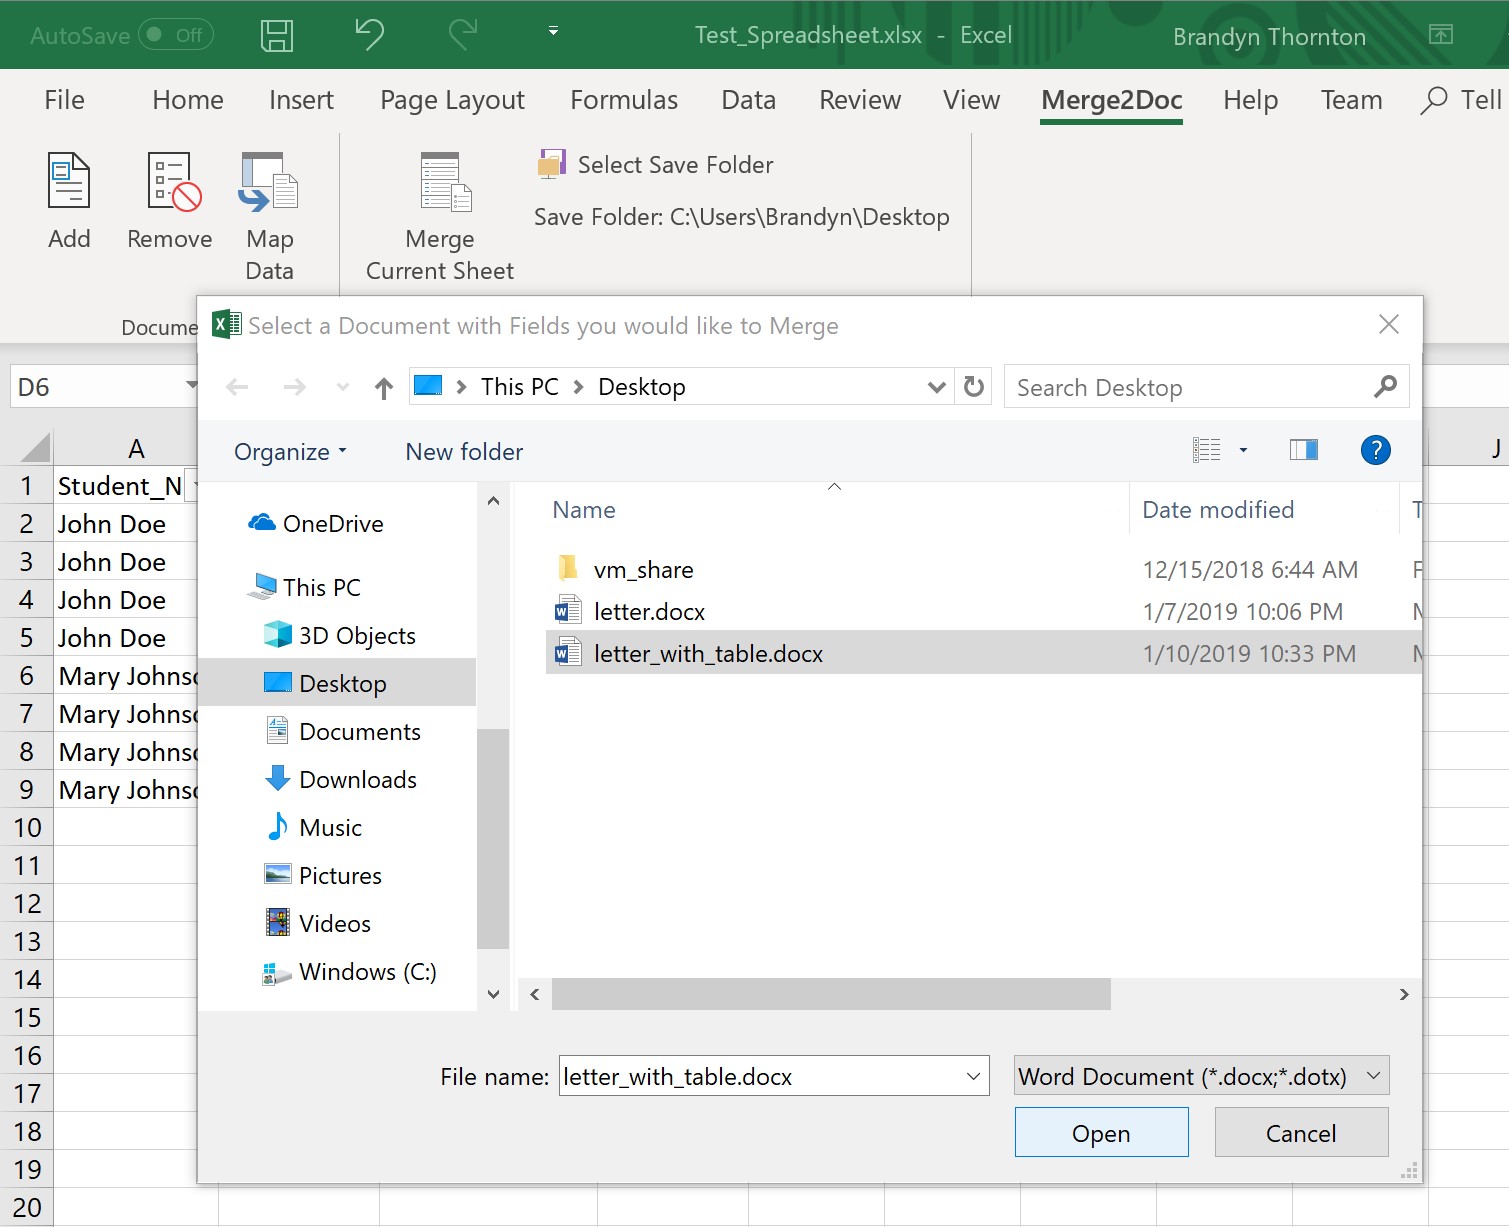
On the Merge2Doc menu, click the ‘Add’ button and select the Word document you would like the merge your data with.

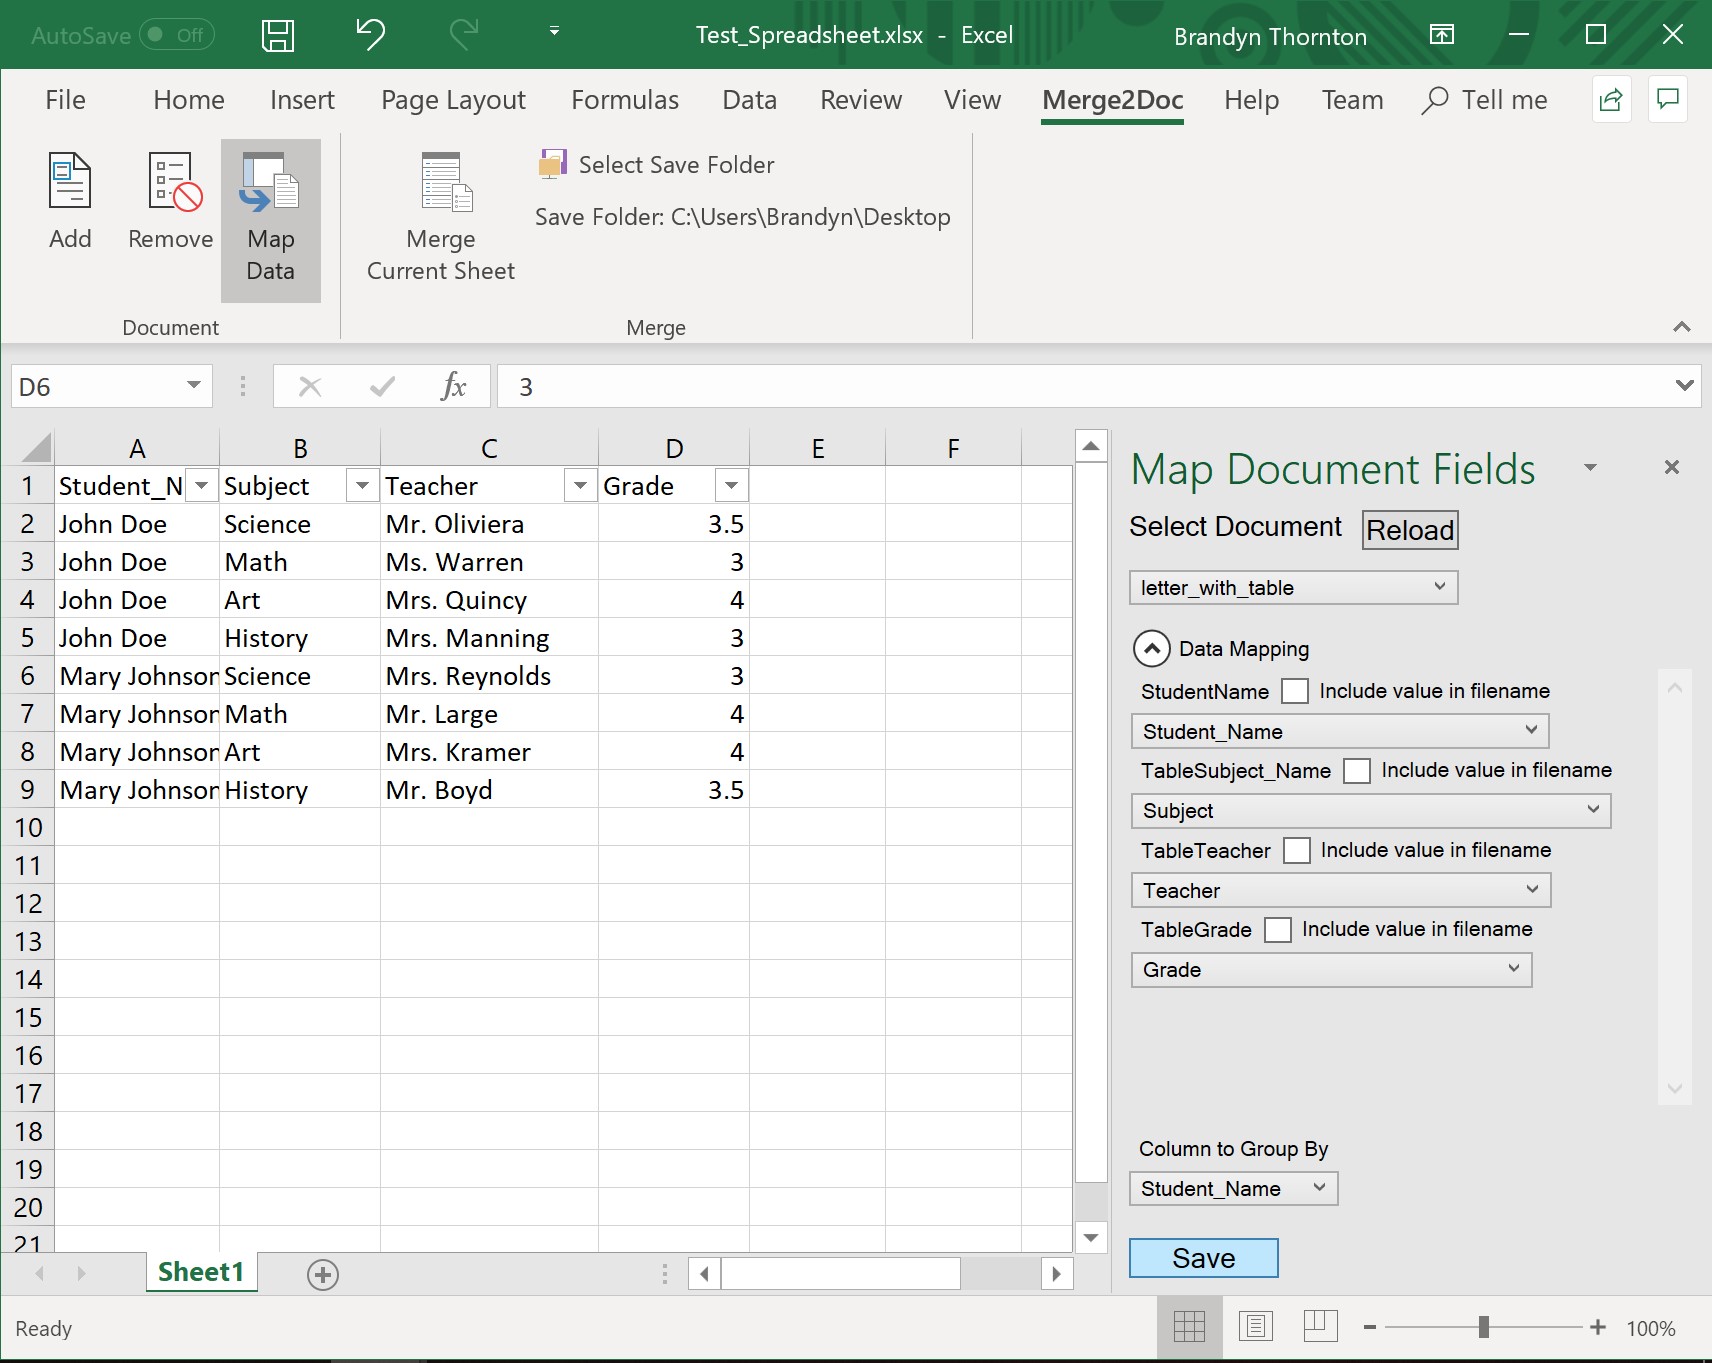
Next we need to map the columns in our Worksheet to the Fields in our Word document. In the Merge2Doc menu, click the ‘Map Data’ button to open a Task Pane that allows you to assign a column from the current Worksheet which will supply values for each Field in the selected Word document.
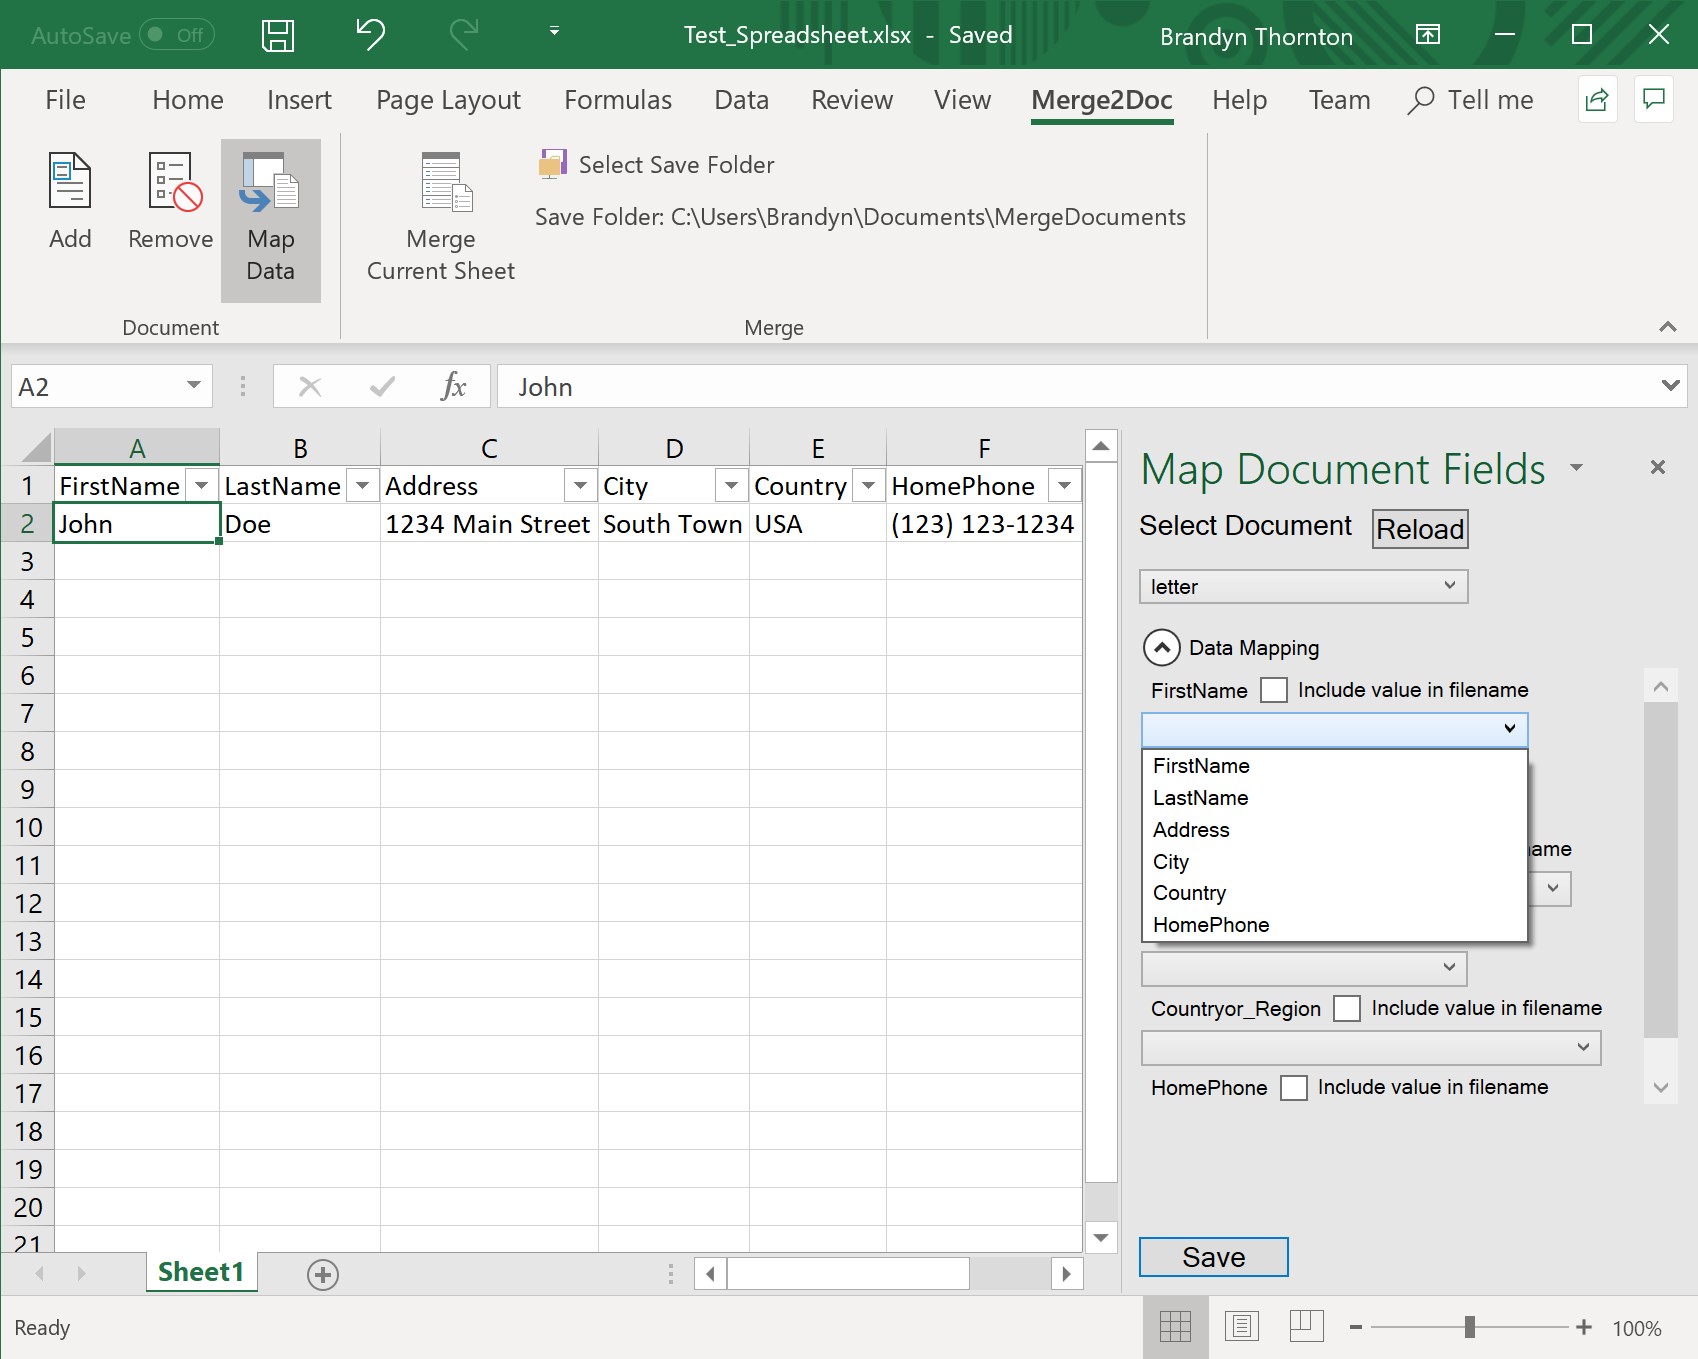
A document will be created for each visible row in the current Worksheet. Use Excel filters to filter out rows which you wish to exclude. Select the ‘Include value in filename’ checkbox for each field you wish to include in the resulting merged document filename.
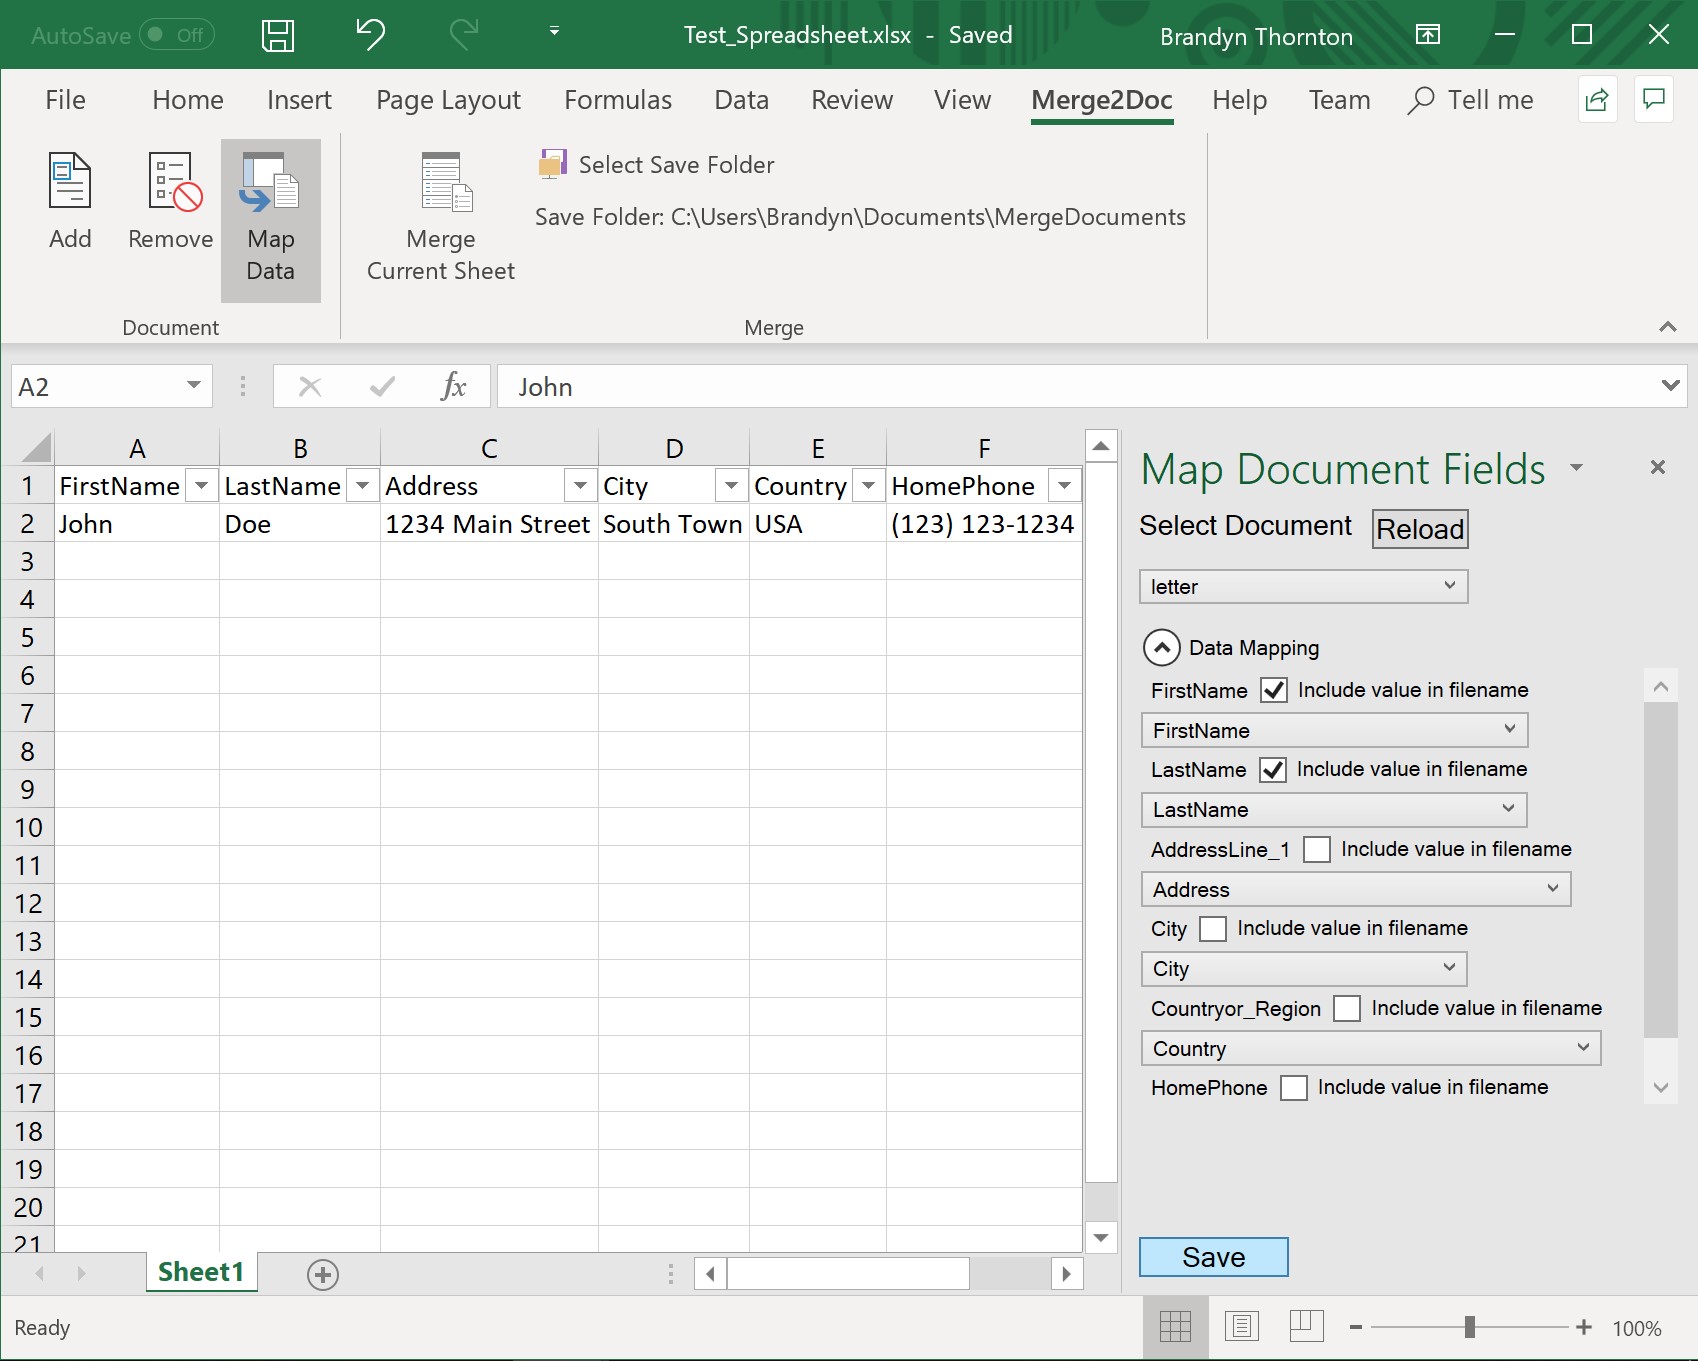
Once you have finished mapping the columns, press the Save button at the bottom of the Task Pane to save your work.
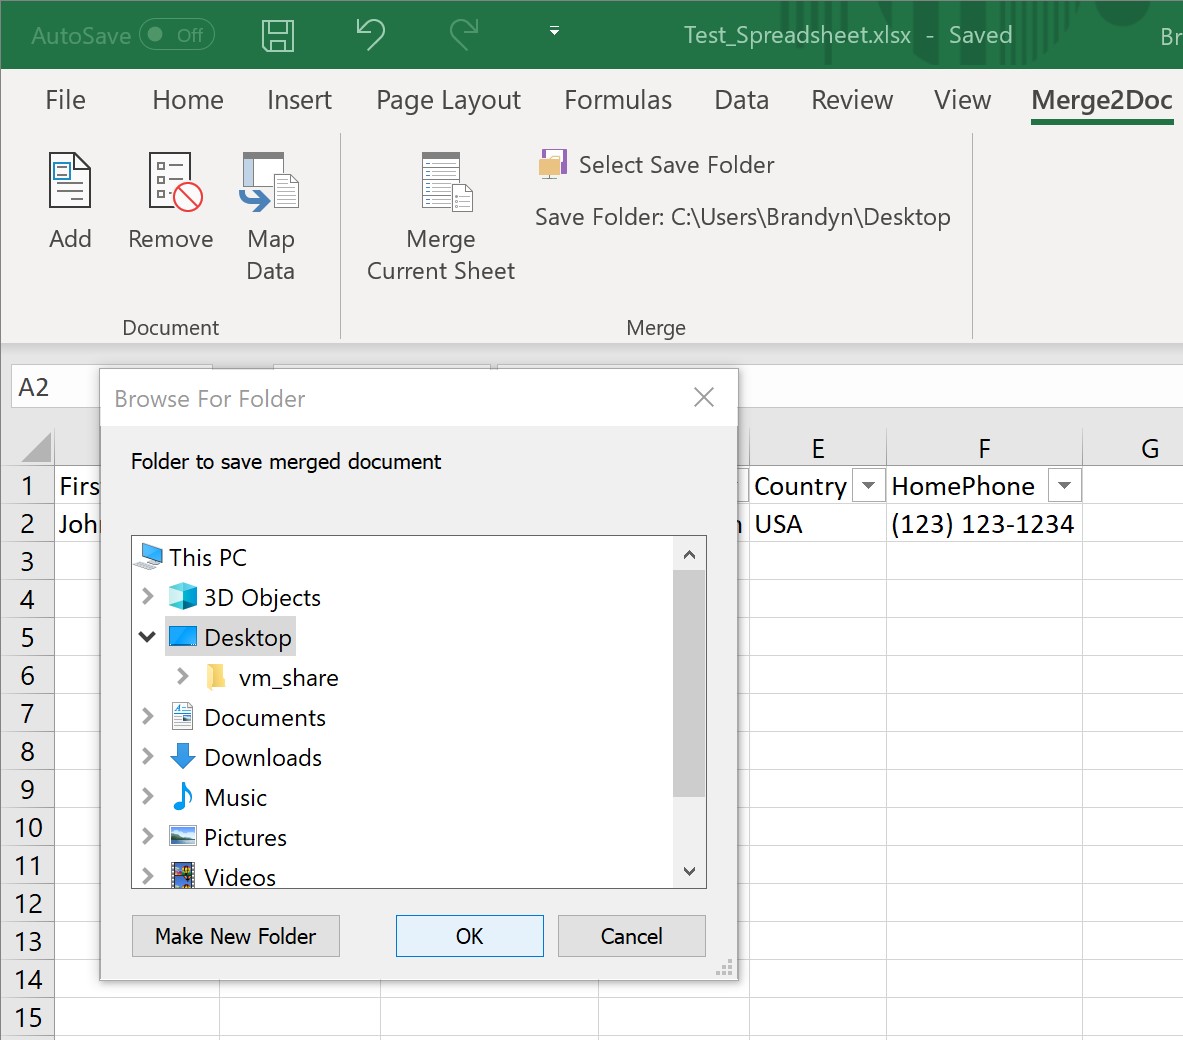
Next, we need to set the folder location we want to save our merged documents into. Use the ‘Select Save Folder’ button to open a folder dialog and select the folder you wish to save your documents into.
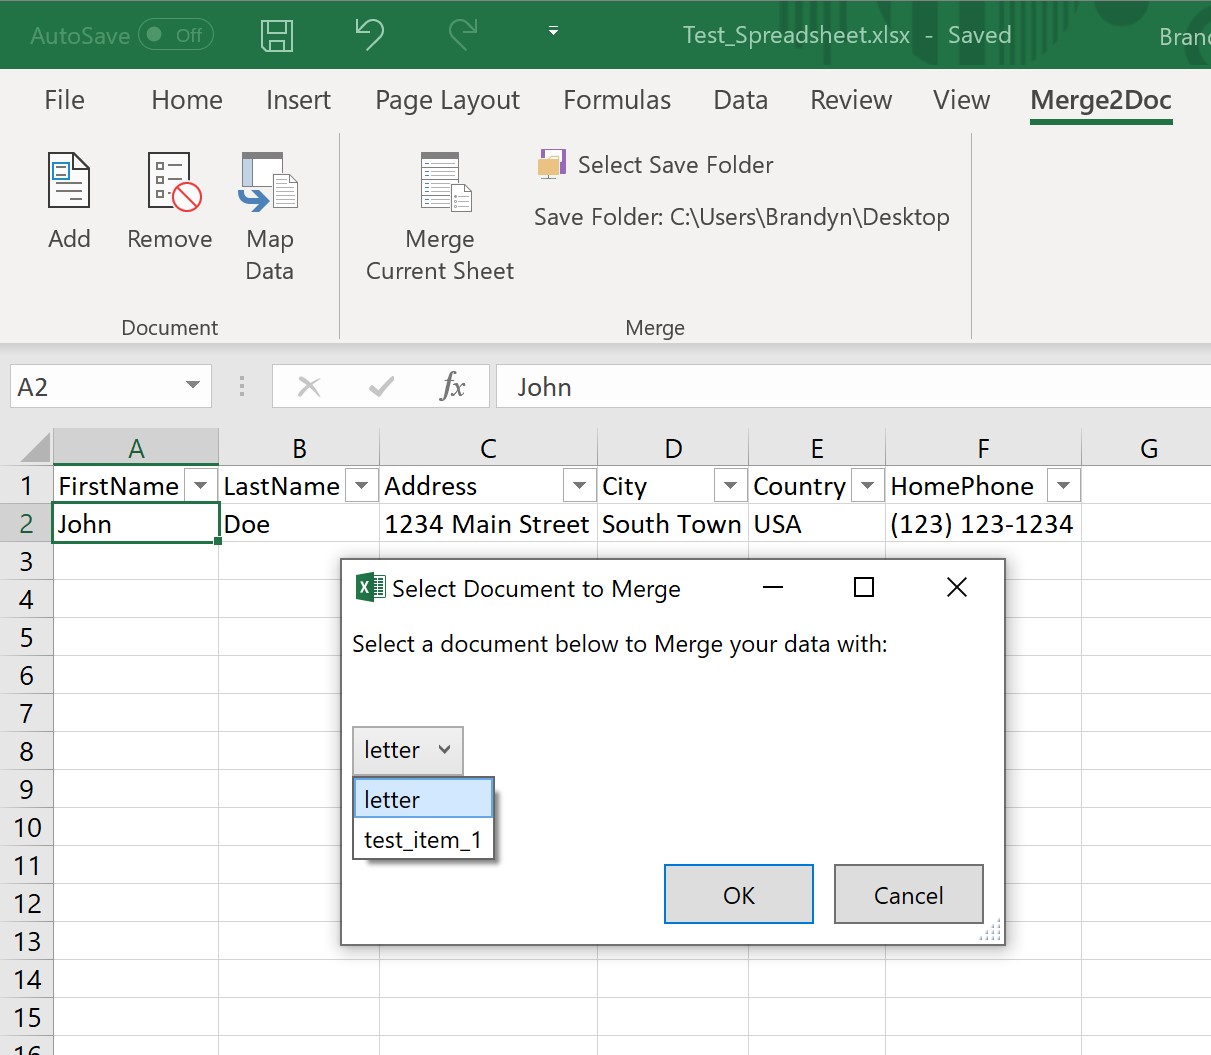
We are now ready to merge our Worksheet with our Word document. Use the ‘Merge Current Sheet’ button to select your merge document and create the resulting files.
And we’re done!
All settings for Column to Field data mapping and Save folder locations persist between usage.
Table Support
The AddIn also supports merging into documents which contain a table. Your Excel data must contain a many-to-one relationship in one of its columns that will allow us to merge multiple Worksheet rows into a single Word document table. Let’s take a look at an example…
First we need a Word document with a table that contains Fields.

Once again we will add the document using the ‘Add’ button.
Click the ‘Map Data’ button to open the Task Pane if necessary or select the document from the select menu in the Task Pane.

Map the columns from your Worksheet to the Fields in the Word document. Notice the additional select option for ‘Column to Group By’. In this example our rows have the Student_Name column in common so I will select that as the ‘Column to Group By’.
Don’t forget to select a value to include in the filename. For this example I would use Student_Name for the filename value as well. When you are done click Save!
We are now ready to merge our data into Word documents. Click the ‘Merge Current Sheet’ button and select your document from the list.
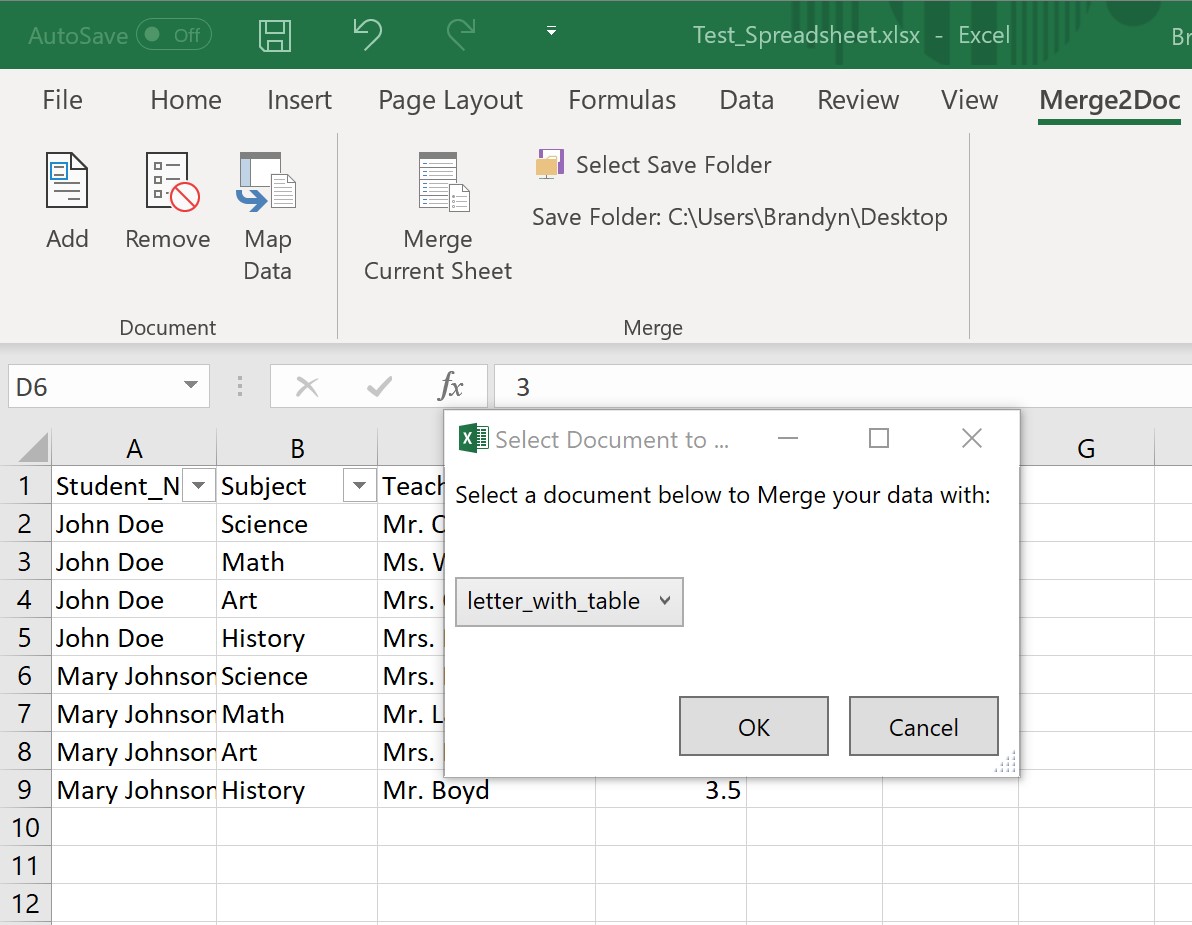
This will create one file for each unique value in the column we used to group our data. Here we see two files generated in this example.
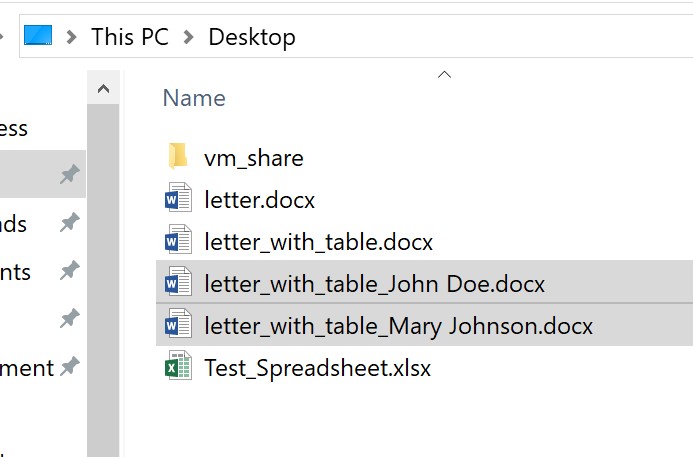
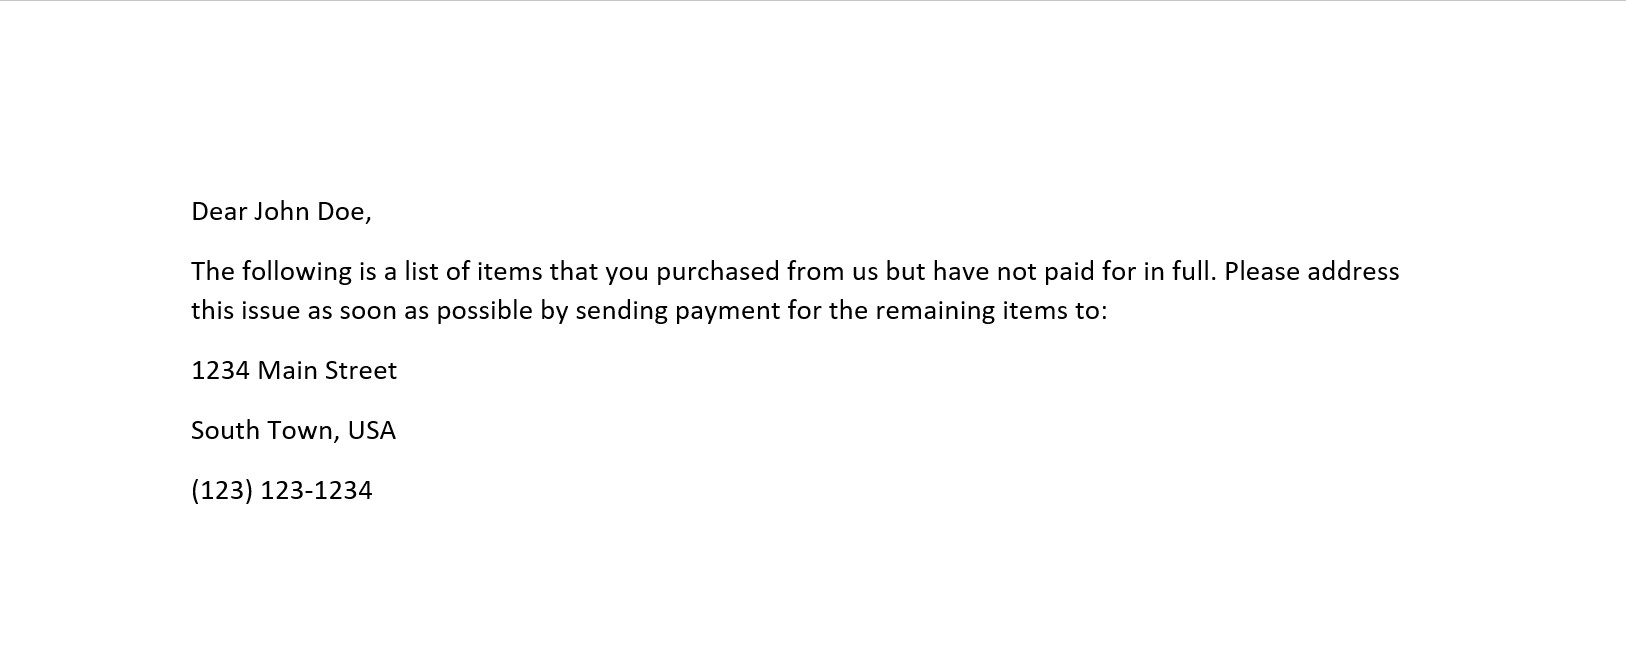
And if we open one we can view our results with each row merged into a row of the document table.

I hope you find the tool useful! Thank you!
Have feedback about the Office AddIn? Contact me using the form below!